Router Basics
Connecting your gloves to an external router
The MiMU Gloves are designed to let you connect them to a wireless network in the area. When choosing a network for your gloves, some of the things to consider include:
- Other Wi-Fi traffic on that network - you won't want to choose a network that is overloaded
- Possible security or firewall issues that may be outside your control
- Physical location of the router and strength of signal
- Bandwidth of the router (2.4 GHz vs 5 GHz service)
One of the easiest solutions is, of course, to connect to your home (or venue) internet router. This can be very convenient for streaming, but there is wide variability in home routers. There are a number of factors that can prevent this from working, but it is usually worth a try before investing in a dedicated gloves router.
1. Using your gloves with your home router

To connect to a home router, look at the list of networks available to you and choose the best option that you feel is most likely to give you good performance, and preferably one that you have some control over. If your home router gives you the option of 2.4 GHz or 5 GHz, such as in the list pictured above, try first the 5 GHz option.
Tip: If you are using a 5 GHz router, be sure to select the Wi-Fi region (Europe, US or Japan) closest to you in Glover's preferences before configuring your gloves.
Setting up your gloves
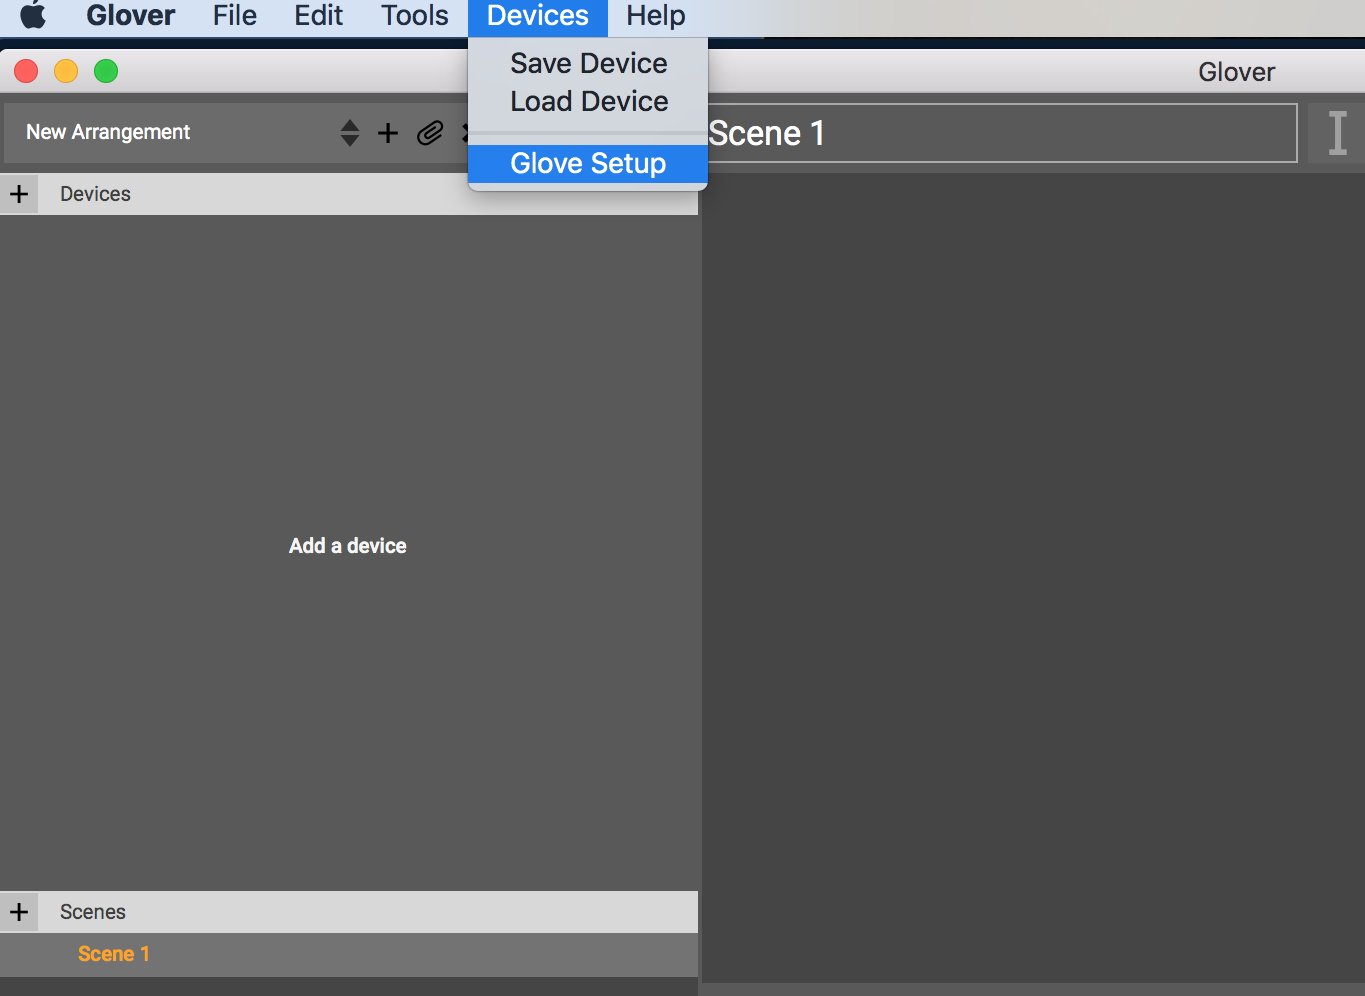
Go to the Devices menu and click Glove Setup.
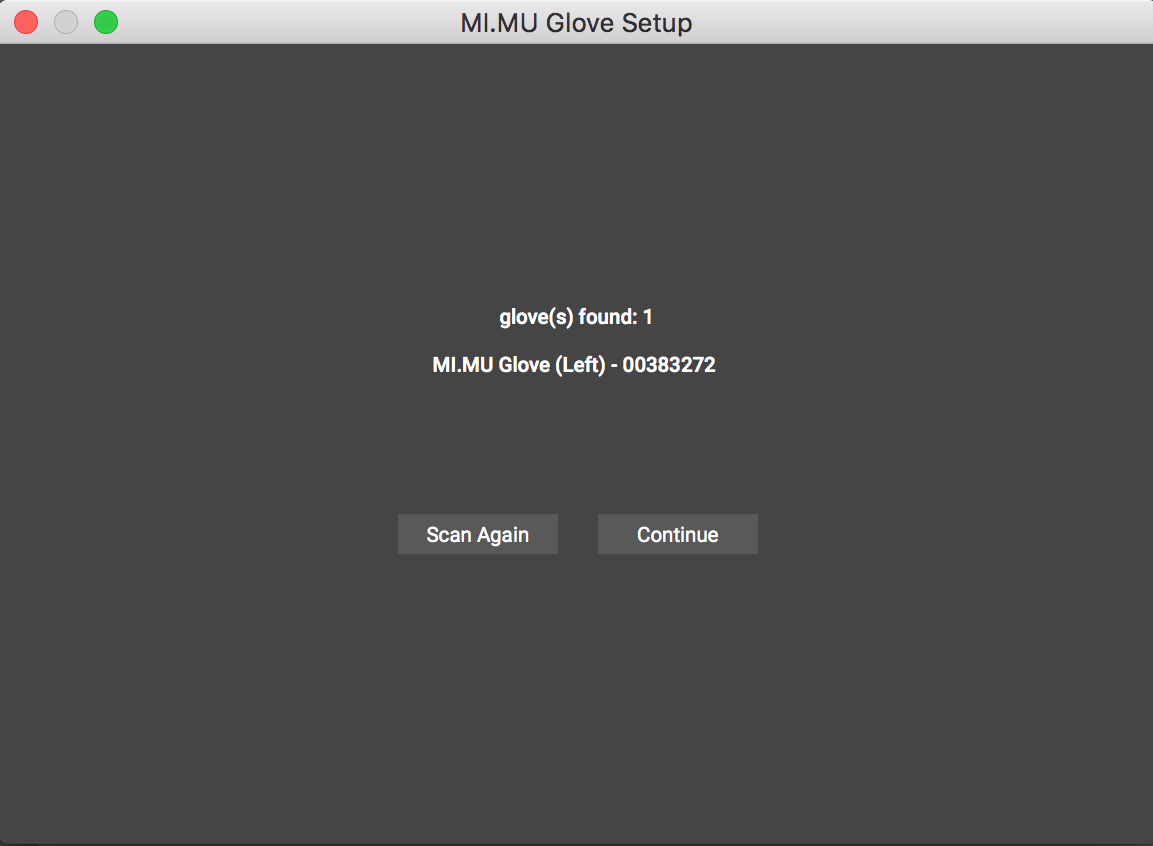
A pop up window will prompt you to turn on your gloves and connect them via USB. Click OK once you have done this. Glover will now start scanning for connected gloves, this might take a few seconds. The window will now display a list of the connected gloves found. If none were found make sure that your gloves are powered on and to check your USB connection, the click Scan Again.
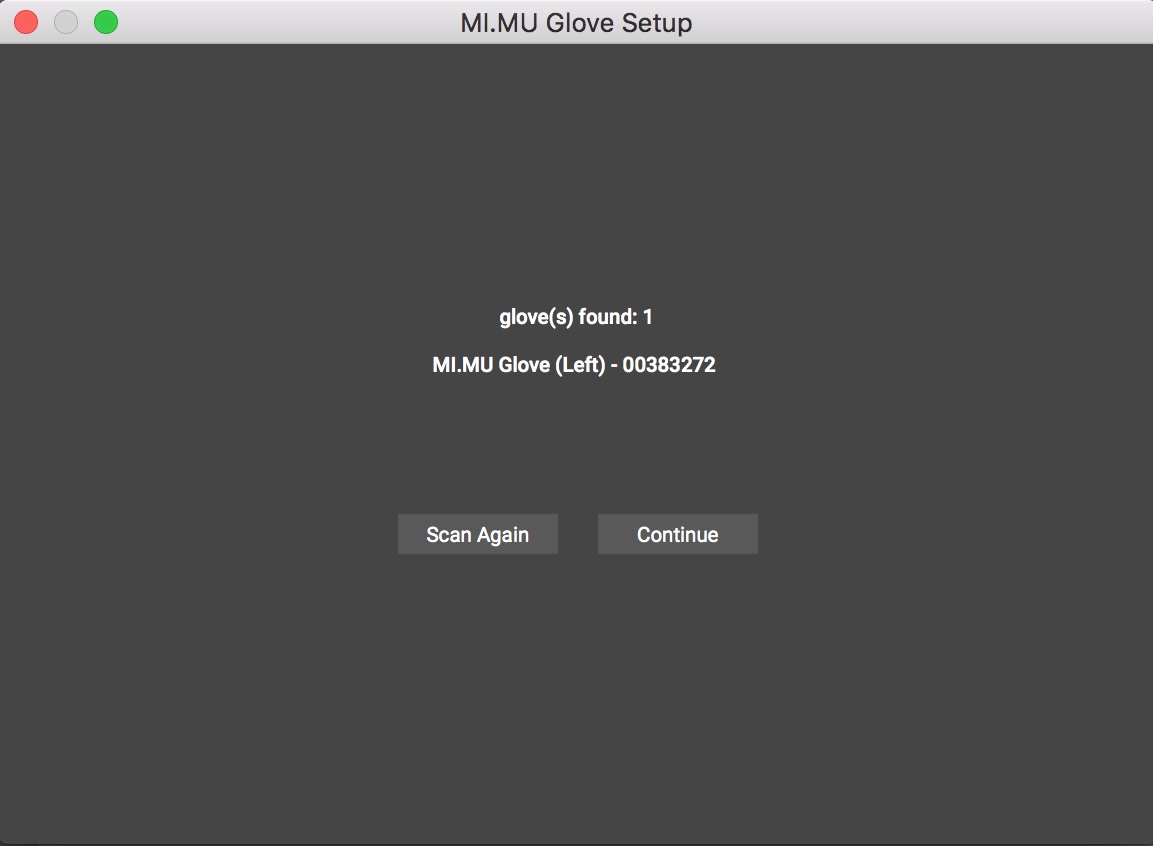
If the list is displaying all gloves you want to setup, click Continue.
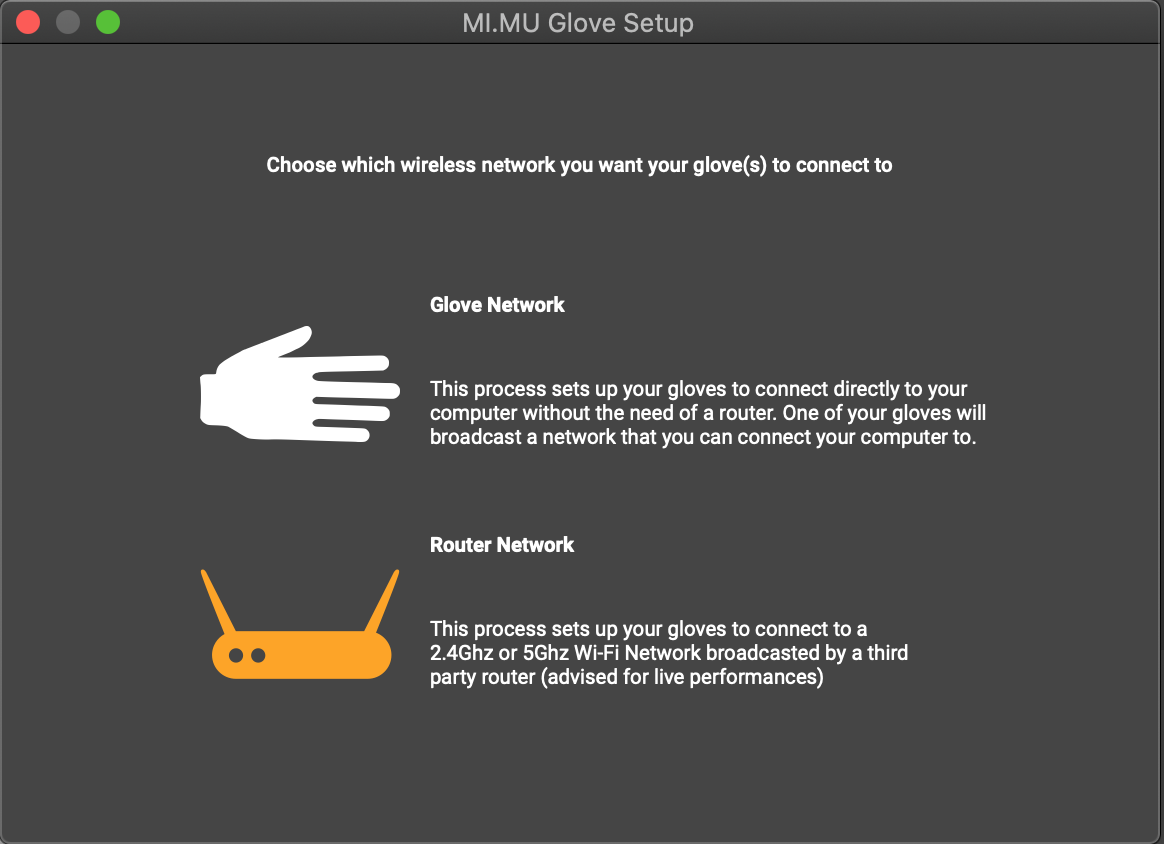
Now choose to setup your gloves with a Router Network.
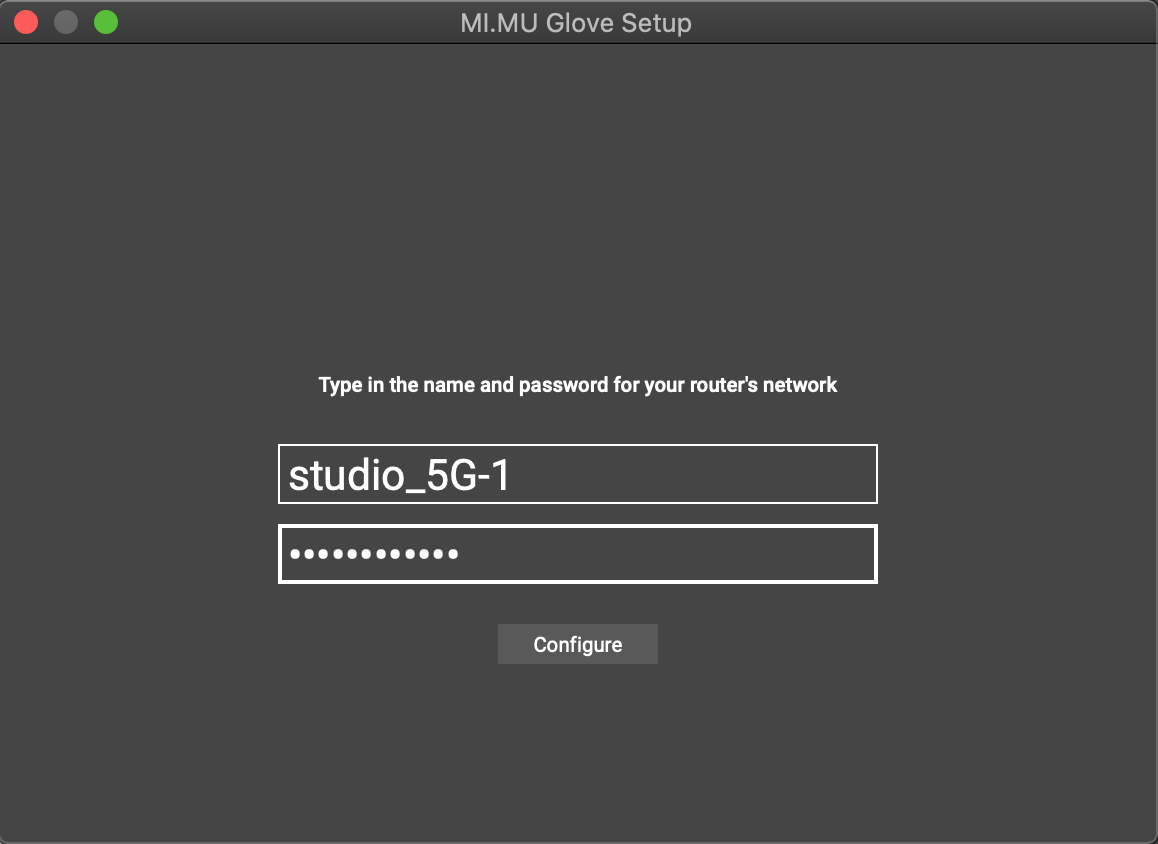
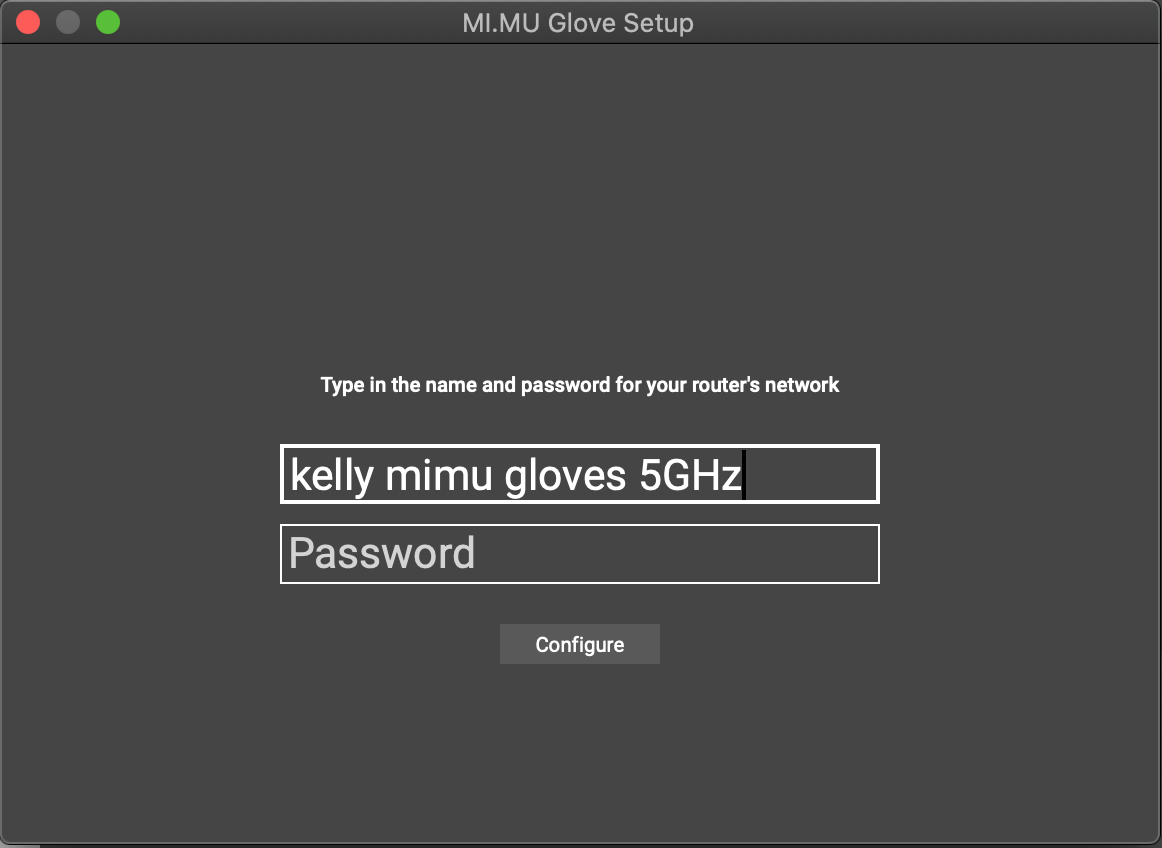
Now type the SSID and password of the router you want your gloves to connect to. Be careful to enter the precise name and password of your chosen internet network, including any spaces, capital letters as it appears in your network list. Now click Configure. The gloves' white LEDs will flash until they have found the new network and then will go solid white to let you know they're connected.
Tip: Once you have completed the setup with the gloves successfully configured, unplug the USB cables and turn the gloves off and back on again.
Connecting the gloves in Glover
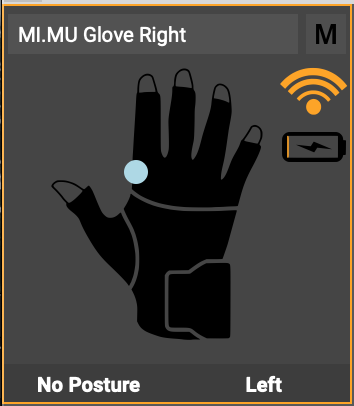
Once you have unplugged your cables and powered the gloves off and back on again, and the white LED(s) have become solid, the gloves should connect inside Glover. Click the Connection Icon in the top right of your Glove device in Glover to reconnect.
Tip: If you leave your gloves plugged in, Glover will give you a choice for whether you would like to use the wireless or wired connection. If this choice isn't presented, try clicking on the connection icon in the glove device pane until the red broken link appears, then Ctrl-click the connection icon to get the choice.
Troubleshooting
If you have followed the above instructions and your gloves aren't connecting in glover, here are a few things to try:
- Check that your Wi-Fi is on and connected to the same network as the gloves
- Check that your computer's firewall is turned off in System Preferences -> Security & Privacy
- Check that the white LEDs on the gloves are both solid, not flashing. If they are flashing, this means the gloves are not connected to the router yet. Try going through the glove setup again.
- Try quitting out of Glover and opening an empty Glover session and adding the gloves into the fresh session.
2. Using a dedicated Glove router

If you want to have more control over your glove Wi-Fi performance, you can buy or repurpose a dedicated router for the gloves. This will likely require a bit of setup of the router, which varies from router to router. We provide later in this section of the documentation some detailed setup instructions for the TP-Link AC750 Wireless Portable Nano Travel Router, which is relatively inexpensive, widely available, and has been proven to work reliably in several countries. Set-up is easy, but for this section, we will assume that your router is minimally set up and working.
Tip: If you are using a 5 GHz router, be sure to select the region closest to you in Glover's preferences before configuring your gloves.
Setting up your gloves
Go to the Devices menu and click Glove Setup. A pop up window will prompt you to turn on your gloves and connect them via USB. Click OK once you have done this. Glover will now start scanning for connected gloves, this might take a few seconds. The window will now display a list of the connected gloves found. If none were found make sure that your gloves are powered on and to check your USB connection, then click 'Scan Again'.
If the list is displaying all gloves you want to setup, click Continue.
Now choose to setup your gloves with a Router Network.
Now type the SSID and password of the router you want your gloves to connect to. Be careful to enter the precise name and password of your chosen internet network, including any spaces, capital letters as it appears in your network list. Now click Configure. The gloves' white LEDs will flash until they have found the new network and then will go solid white to let you know they're connected.
Tip: Once you have completed the setup with the gloves successfully configured, unplug the USB cables and turn the gloves off and back on again.
Connecting the gloves in Glover
Once you have unplugged your cables and powered the gloves off and back on again, and the white LED(s) have become solid, the gloves should connect inside Glover. Click the Connection Icon in the top right of your Glove device in Glover to reconnect.
Tip: If you leave your gloves plugged in, Glover will give you a choice for whether you would like to use the wireless or wired connection. If this choice isn't presented, try clicking on the connection icon in the glove device pane until the red broken link appears, then Ctrl-click the connection icon to get the choice.
Tip: Ensure a more stable connection by using a network cable to connect your computer to your dedicated router and turn the Wi-Fi on your computer off.
Troubleshooting
If you have followed the above instructions and your gloves aren't connecting in glover, here are a few things to try:
- Check that your Wi-Fi is on and connected to the same network as the gloves or - if your computer is connected via a network cable - make sure your Wi-Fi is off
- Check that your computer's firewall is turned off in System Preferences -> Security & Privacy
- Check that the white LEDs on the gloves are both solid, not flashing. If they are flashing, this means the gloves are not connected to the router yet. Try going through the glove setup again.
- Try quitting out of Glover and opening an empty Glover session and adding the gloves into the fresh session.
As always, the MiMU team is available to help by emailing [email protected].