Instruments
An instrument is a set of mapping input and output combinations. There are two types of Instruments in Glover: Chord Machine and Note Matrix. Choose an Instrument by clicking the Instrument button in the toolbar
![]() and choosing one of the instruments from the dropdown menu.
and choosing one of the instruments from the dropdown menu.
Note that these instruments generate only MIDI, so all notes will only be audible if the MIDI is triggering a virtual MIDI instrument in a DAW like Ableton Live or Logic or a hardware MIDI instrument like a synthesizer.
Chord Machine
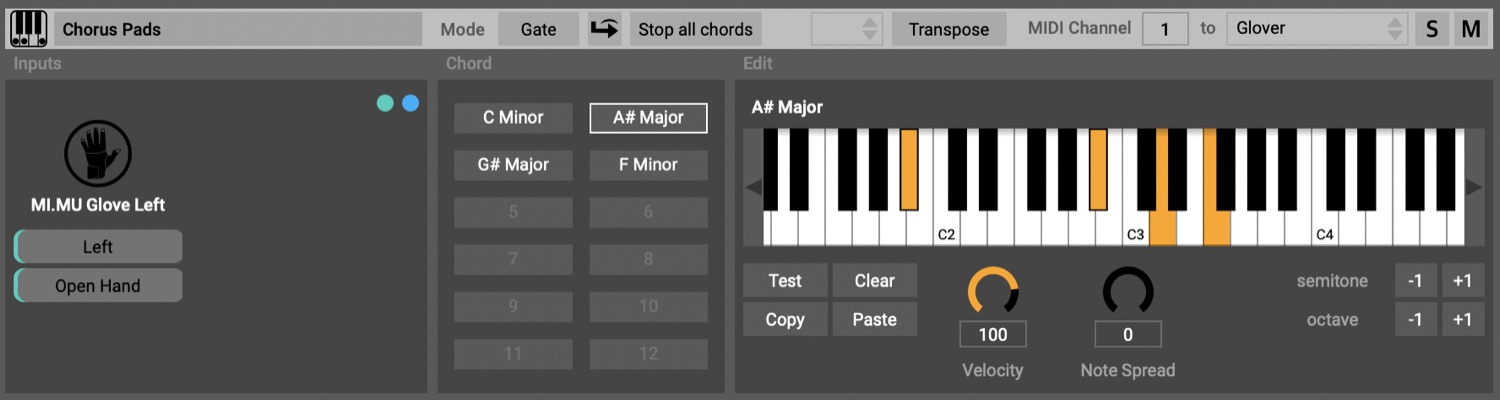
The Chord Machine allows you to easily send multiple MIDI notes at the same time and move through chord progressions. Each chord machine lets you generate up to 12 chords of MIDI notes, which can be triggered by custom events and received by your music or visual software. If more than twelve chords are needed in a scene, multiple chord machines can be used.
Create a chord
To create a chord, click on one of the 12 chord buttons. For each chord, select the notes manually on the MIDI keyboard on the right by clicking on the notes you wish to include in the chord. Clicking again the same key will remove that note. Notes that are orange are included. Glover does some chord analysis on the selected notes and the names of the chords are displayed above the keyboard. The chord buttons are also renames automatically.
Input
To play the chord, drag a device input that you'd like to use to trigger the chord from the 'Device Inputs' panel in the sidebar into the Inputs panel. You can use either a qualifier (e.g. a posture or direction) or an event (eg. drumhit) or a combination of the two.The selected chord has a white line around the chord button and a chord that is being played will have a orange line around it.
Output
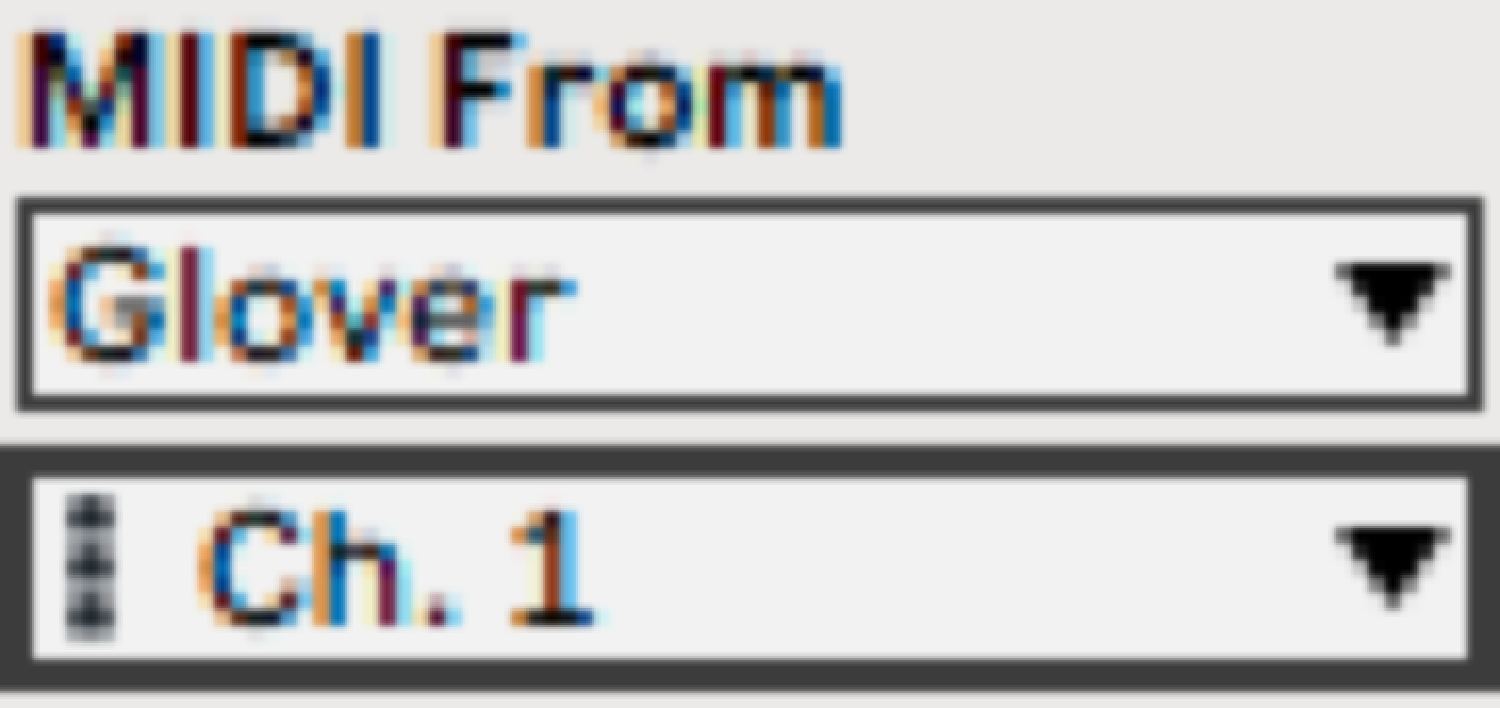
To hear the chord make sure you have a DAW open or harware MIDI instrument connected to your computer. In the toolbar of the instrument choose the MIDI Channel you want to send the notes too and the port. In the dropdown menu you will see all the available MIDI ports available on your computer. 'Glover' is the default port to use with a DAW. For example, if you are using Ableton Live, make sure to select Glover in the 'MIDI From' dropdown menu on your track and select the MIDI Channel you used on your Chord Machine.
External Hardware
If you are using an external, harware MIDI device, connect it to your computer to make it show up in the list of available output ports of your instrument. For example, you might want to use the TC Helicon VoiceLive as a vocoder. You can use a Chord Machine to send the notes to the VoiceLive. When you connect the VoiceLive to your computer via USB, it will show up as an available output port. Make sure that in the settings of your VoiceLive you have set the MIDI input Channel to the same channel you've set in your Chord Machine and you have selected 'Notes Mode' in the Harmony Effect.
Test a chord
As long you have a DAW or hardware instrument connected to your Chord Machine, you will hear the notes as you select them on the keyboard in the Edit panel. To hear the whole chord you can play it with the inputs you have chosen or by clicking the Test button in the Edit panel.
Clear all notes
The Clear button clears all notes in the current chord, prompting you first to prevent doing this by mistake.
Copy / paste chords
Chord notes can be copied and pasted from one chord to the next or from one Chord Machine to another by using the Copy and Paste buttons.
Velocity
Each chord can be programmed with its own velocity, which is applied to all notes in that chord. If different velocities are desired for different notes in the chord, consider using multiple chord machines with identical inputs and output channels.
Note Spread
Note spread gives a variable rolling arpeggiation to the notes in a chord, sounding in order from lowest to highest. The larger the note spread value, the longer the time between notes in the chord. If notes are desired to sound in a different order, consider using multiple chord machines with identical inputs and output channels.
Transpose
All notes in the selected chord can be quickly shifted by semitone up or down or by octave up or down by using the -1 and +1 buttons. To transpose all the chord machine simultaneously you can use the Transpose function in the toolbar. Select the amount of semitones you want to transpose up or down from the dropdown menu and then hit Transpose.
Mode
The Mode a Chord Machine is in defines how the chords are stopped. A Chord Machine is set to Gate mode by default, which means that all notes are stopped (MIDI Notes Off are sent) when the inputs stops. For example, if 'Fist' is the input for your chord, you'll hear the chord as long as you make a Fist and the chord will stop as soon as you stop making the Fist. In Trigger mode, the notes play until you trigger the next chord.
Sustain chords into the next Scene
By default all chords will get stopped when you switch to another Scene. If you'd prefer to sustain the chords into the next Scene, you can turn on this button in the toolbar
Stop all chords
This button manually stops all chords when pressed.Note Matrix
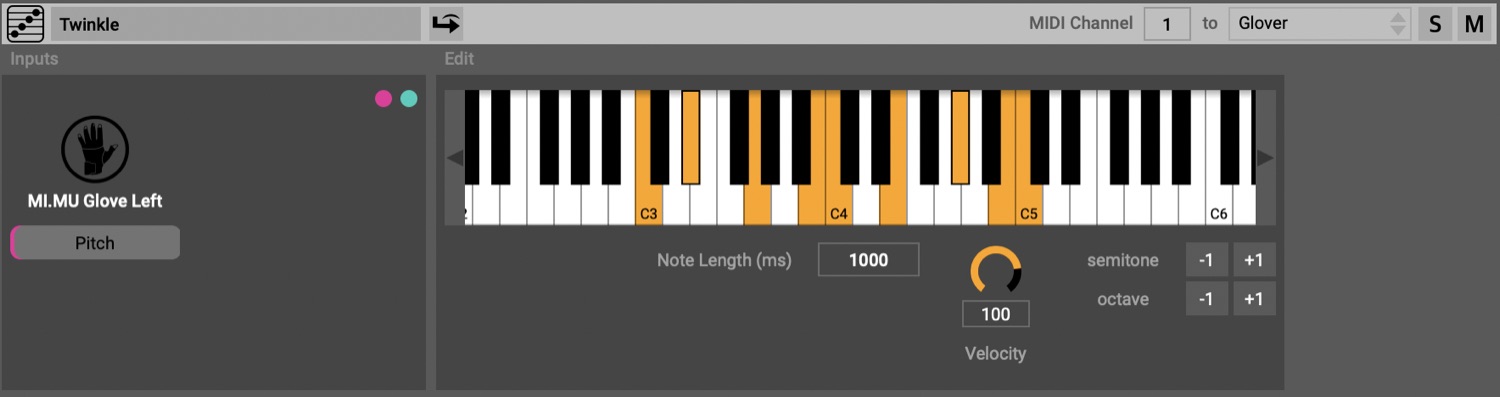
Note Matrix is a shortcut for creating and moving through pre-defined note sequences easily. Each note matrix lets you specify desired notes and define the movement that will play them. Note Matrix generates only MIDI so notes will only be audible if the MIDI is triggering a virtual or hardware MIDI instrument.
Entering the note sequence
For each sequence, select the notes manually on the MIDI piano on the right by clicking on the piano keys you wish to include in the sequence. Clicking again on a key will remove that note. Notes that are orange are included.
Input
The sequence can only be controlled with a movement in combination with a qualifier like a posture. Choose the movement by dragging in the input from the 'Device Inputs' panel in the sidepanel into the Inputs panel.
Output
To hear the notes make sure you have a DAW open or harware MIDI instrument connected to your computer. In the toolbar of the instrument choose the MIDI Channel you want to send the notes too and the port. In the dropdown menu you will see all the available MIDI ports available on your computer. 'Glover' is the default port to use with a DAW.
For example, if you are using Ableton Live, make sure to select Glover in the 'MIDI From' dropdown menu on your track and select the MIDI Channel you used on your Note Matrix.
External Hardware
If you are using an external, harware MIDI device, connect it to your computer to make it show up in the list of available output ports of your instrument. For example, you might want to use the TC Helicon VoiceLive as a vocoder. You can use a Note Matrix to send the notes to the VoiceLive. When you connect the VoiceLive to your computer via USB, it will show up as an available output port. Make sure that in the settings of your VoiceLive you have set the MIDI input Channel to the same channel you've set in your Note Matrix and you have selected 'Notes Mode' in the Harmony Effect.Transpose
All notes in the note sequence can be quickly shifted a semitone up or down or by octave up or down by clicking the -1 or +1 buttons.
Sustain notes into the next Scene
By default all notes will get stopped when you switch to another Scene. If you'd prefer to sustain the notes into the next Scene, you can turn on this button in the toolbar
![]()
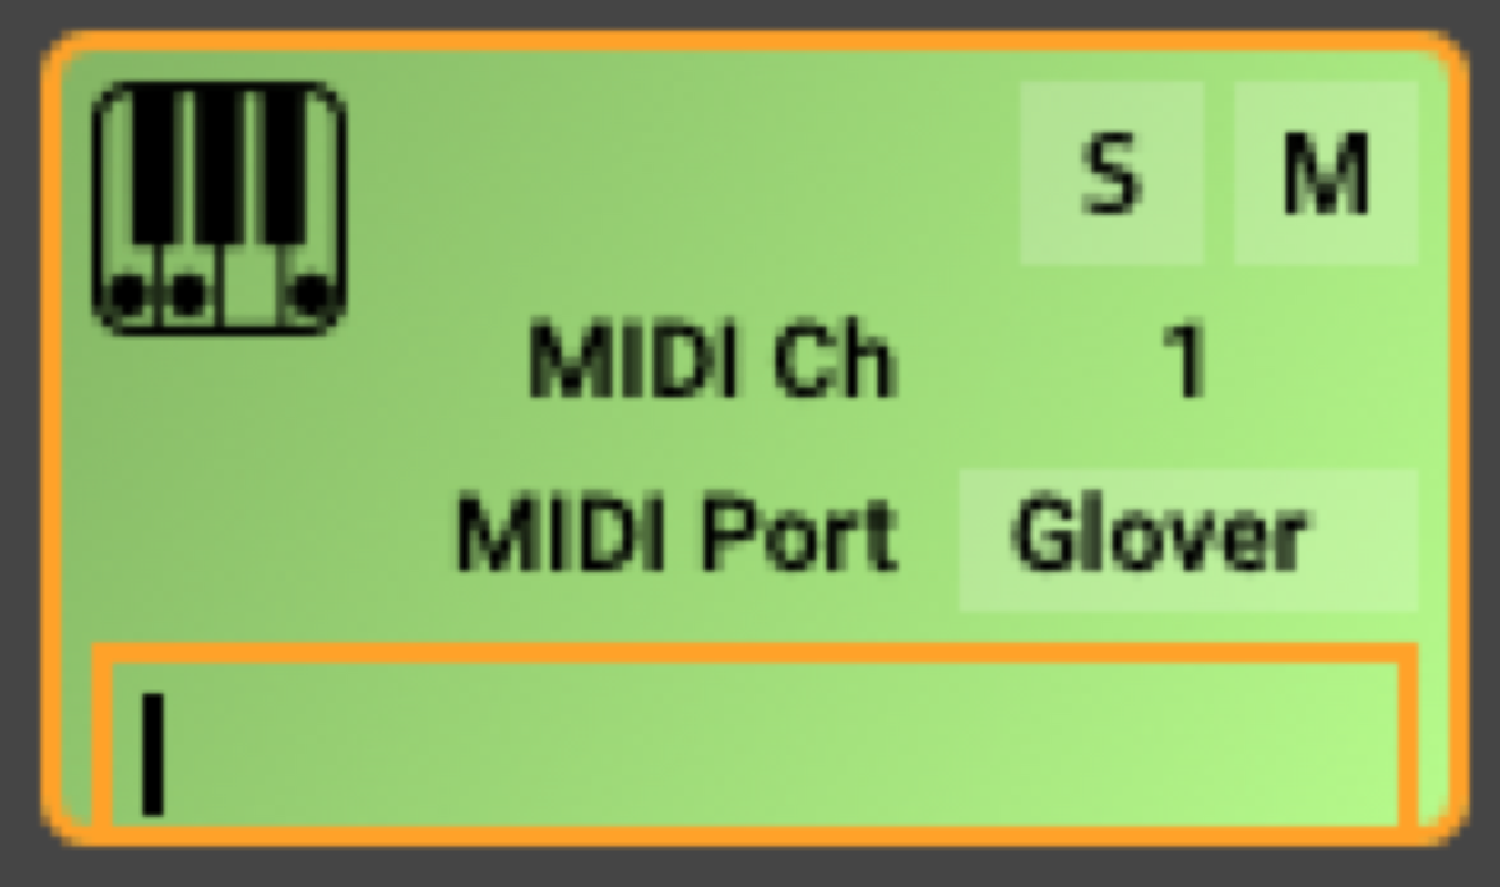
Instrument name
Change the the name of the instrument by typing the name in the textbox on left of the inspector toolbar. You can also double click the bottom of the instrument component in the Scene and type the name there.