Kuiper
- What is Kuiper?
- Video Tutorial
- System Requirements
- Grain Channels
- Primary Controls
- Secondary Controls
- Playback Settings
- Presets
- Frequently Asked Questions
What is Kuiper?
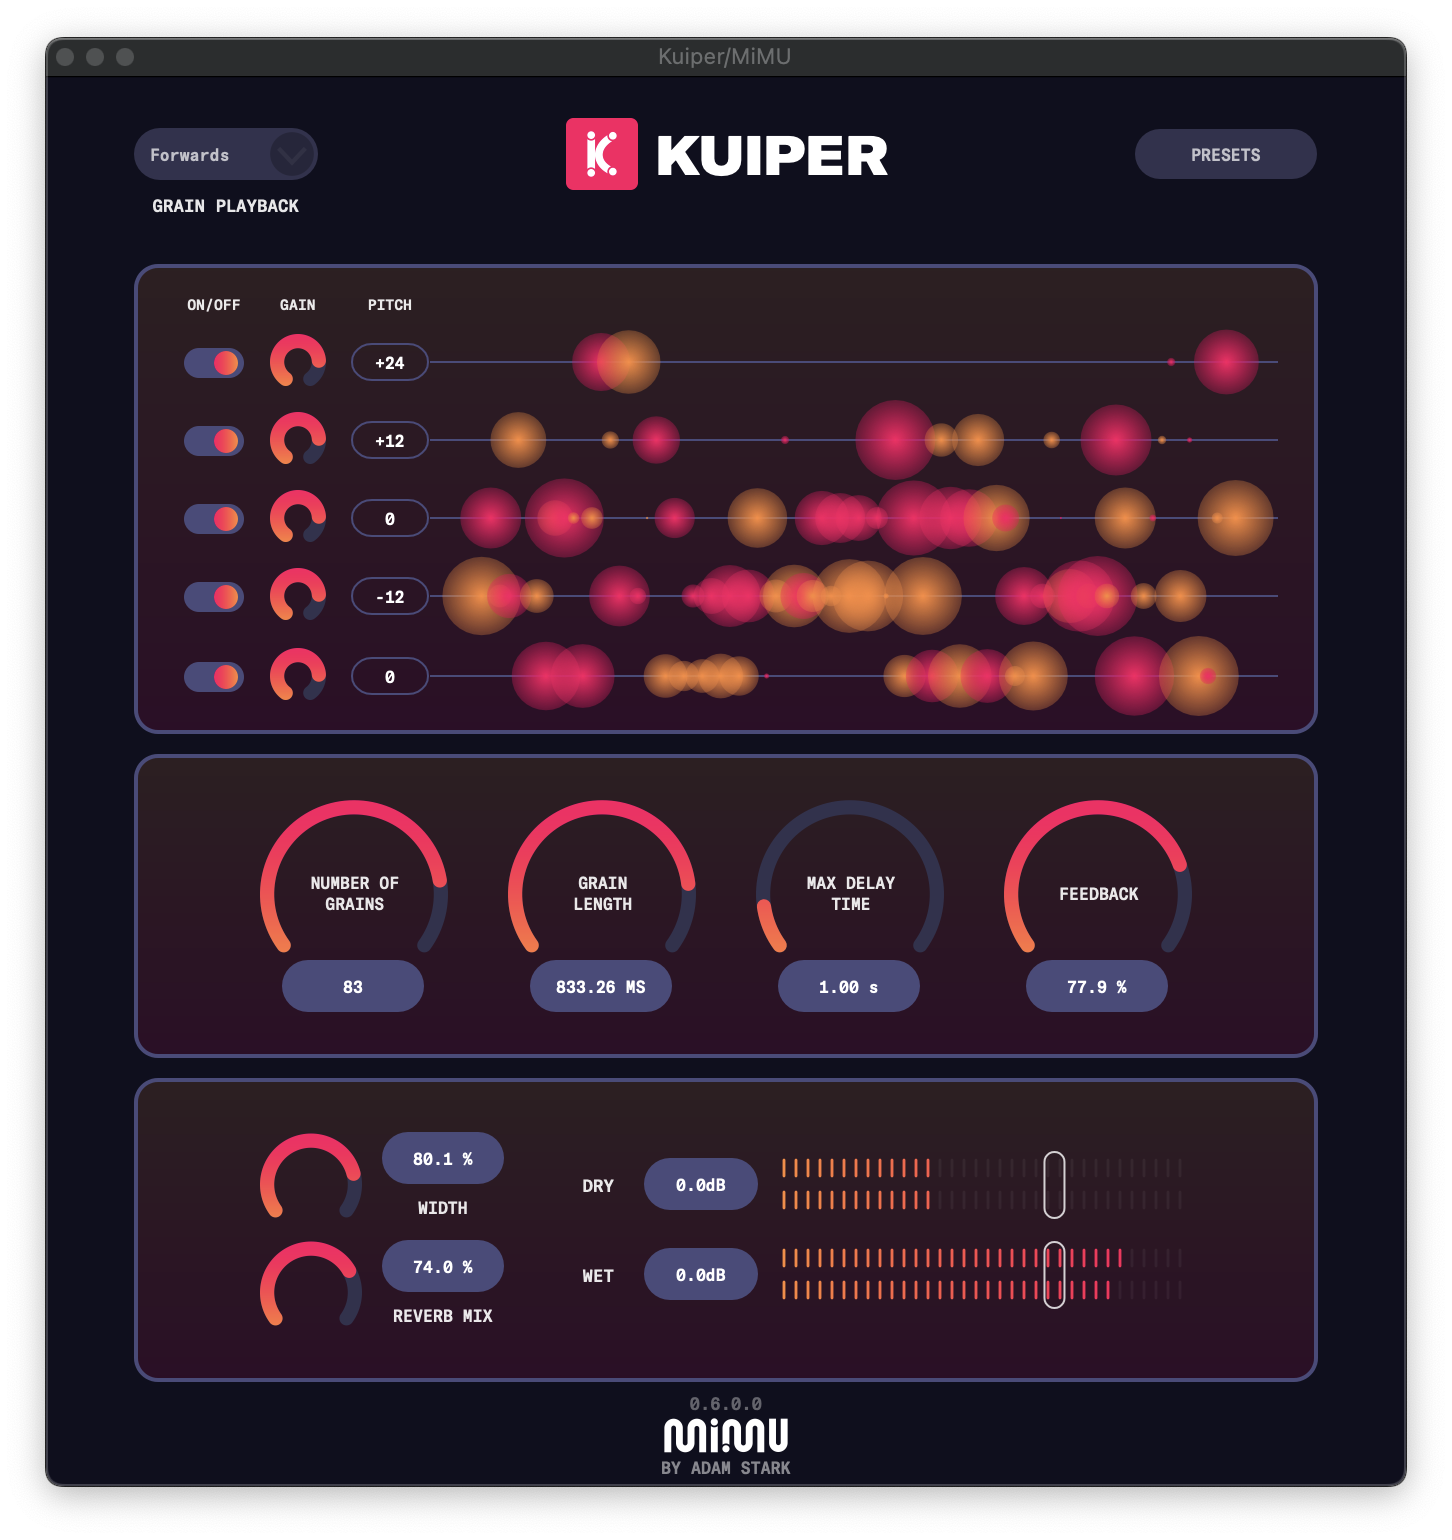
Kuiper is a granular delay plugin with five separate grain pitch channels with independent transpose, gain and on/off controls, making the plugin highly customisable.
Video Tutorial
System Requirements
Operating System
|
|
Mac OS v11 or later
|
|
|
Windows 10 or later |
DAW Compatability
NOTE: The following DAWs have been tested - if you do not see a DAW on this list, it may still be compatible but we have not tested every possible DAW. Additionally, these results are only our experience and we may be mistaken or the DAWs may have implemented support since the time of writing this document
Grain Channels
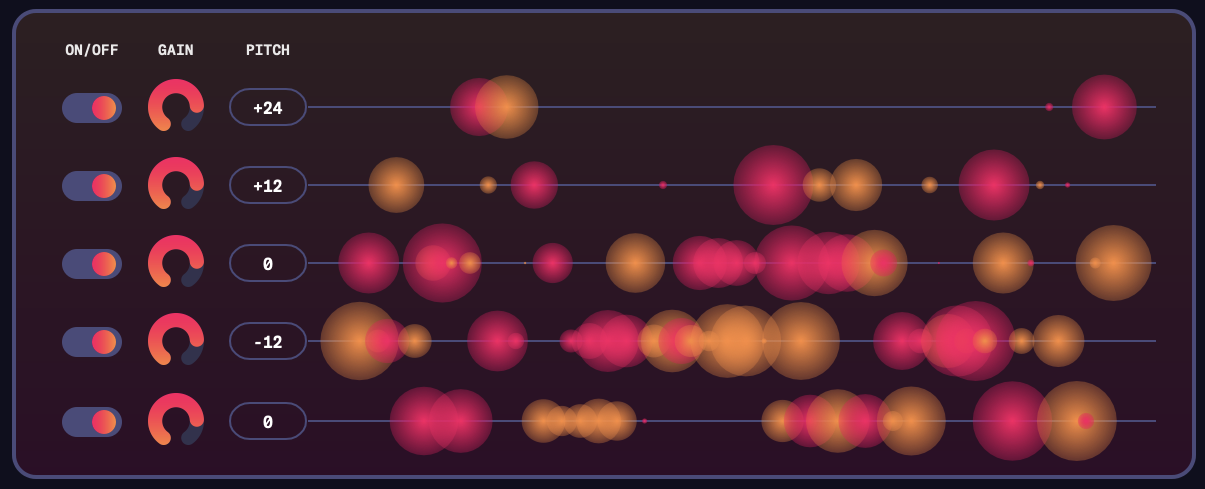
Kuiper allows you to carefully choose the composition of the grains in the granular delay effect by giving you control over 5 different 'grain channels'. Each channel has three controls:
- on/off
- gain
- pitch transposition (in semitones)
This allows you to select which channels are active (on/off), and set their respective gains and pitch transpositions.
By default, the middle channel is set to zero (i.e. no transposition), the two above it are set to an octave up and two octaves up, and the two below are an octave down and two octaves down. You can enable and disable as many of the five channels as you wish to build your preferred soundscape and control your mixture of pitches in the granular delay effect.
Primary Controls

Number of Grains
The number of grains can vary between 5 and 100. Lower grain numbers result in a sparser sound, while larger grain numbers will lead to a thicker or more dense sound.
Grain Length
The length of each grain, in milliseconds (range: 1ms to 1,000ms). Smaller grains give a more 'textured' or 'grainy' effect, while larger grains produce a more smooth and dreamy sound.
Max. Delay Time
The max delay time (in seconds) controls the length of the delay line from which grains are sourced
Feedback
Causes the granular effect to be fed back into itself. This leads to a longer or more sustained effect.
Secondary Controls

Width
Range: 0 - 100%
Each grain is given a random panning position. The panning width control determines how wide that panning is. If it is 0%, no panning is added. If it is 100% then panning positions can be up to 100% left or 100% right. Values in between reduce the amount of panning.
Reverb
Range: 0 - 100%
The amount of reverb added to the delay effect
Wet & Dry Controls
Lets you control the balance of wet and dry signals in the effect.
Playback Settings

Determines whether grains are played forwards, backwards or a mixture of both.
Presets
Kuiper comes with a collection of 'core' presets that you can explore and enjoy. However, you can also create your own presets. This means any time you come across something you like, you can save it as a preset so it can be re-used in the future.
Creating a Preset
1. Click on the 'Preset' button in the toolbar:

2. Choose 'Save Preset' from the menu
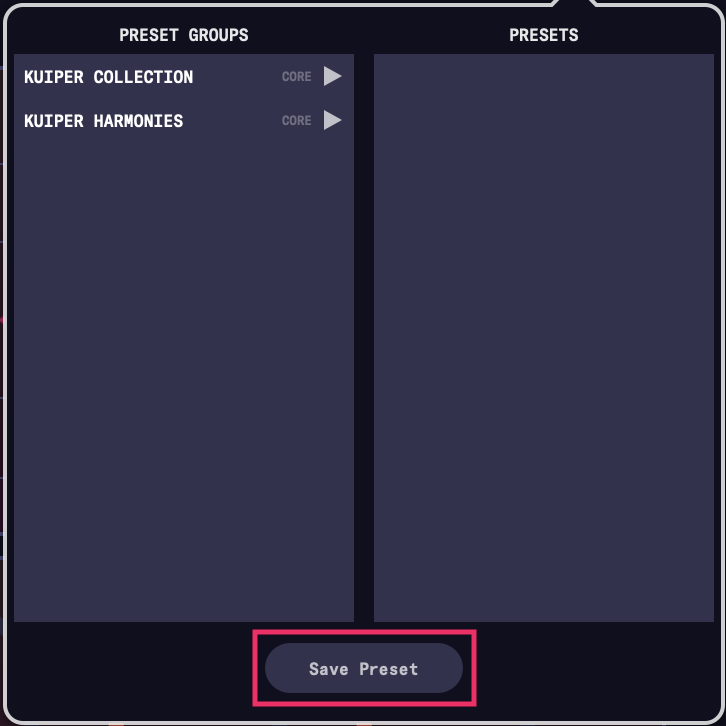
3. If this is your first preset, you will be prompted to create a new 'preset group':
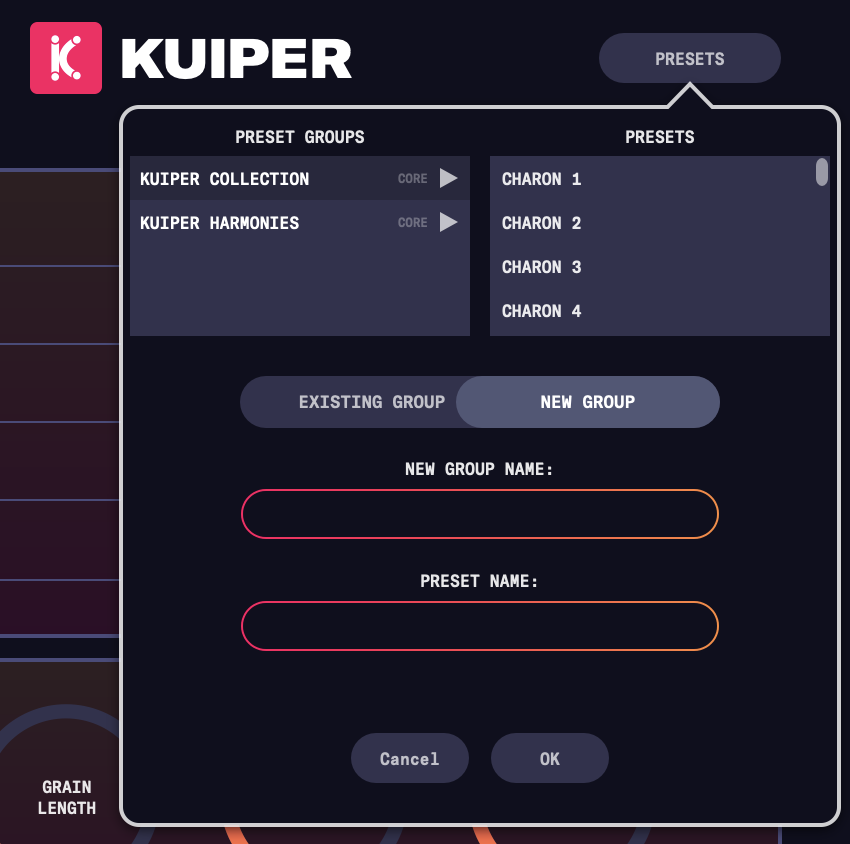
Preset groups allow you to create collections of presets of different types. Give it a name:
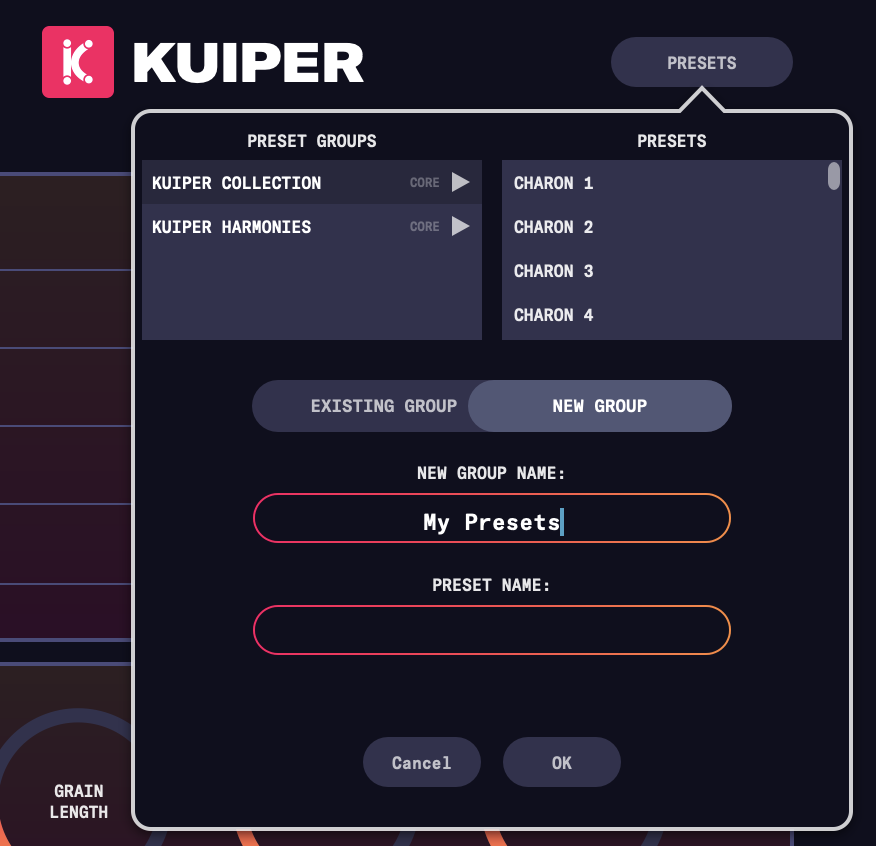
4. Now give the preset a name:
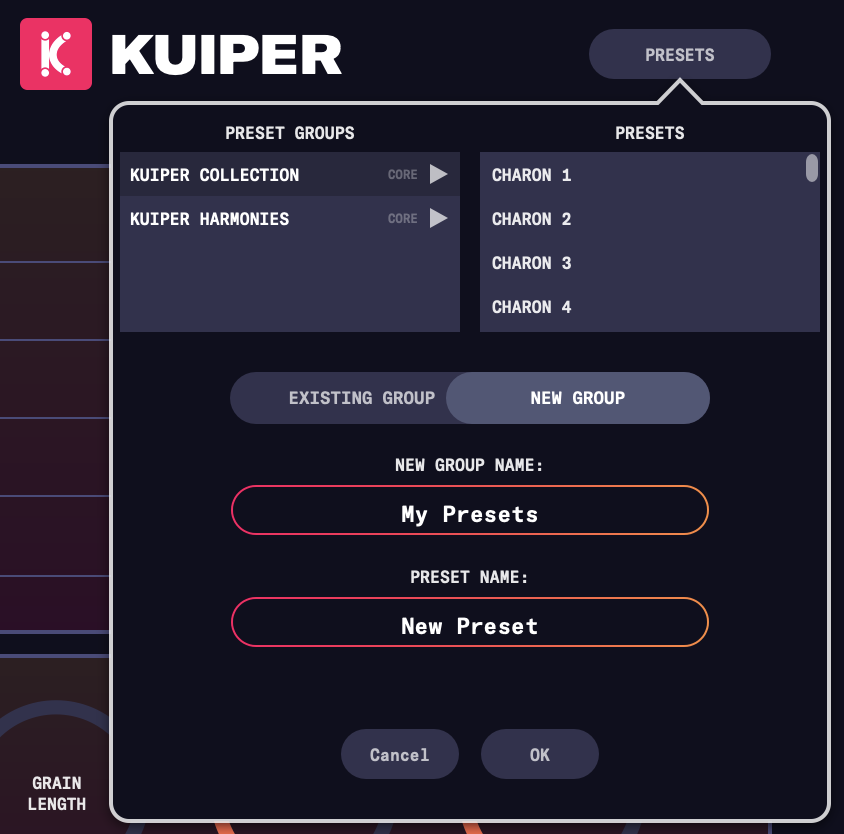
...and hit OK to save. That's it - preset created!
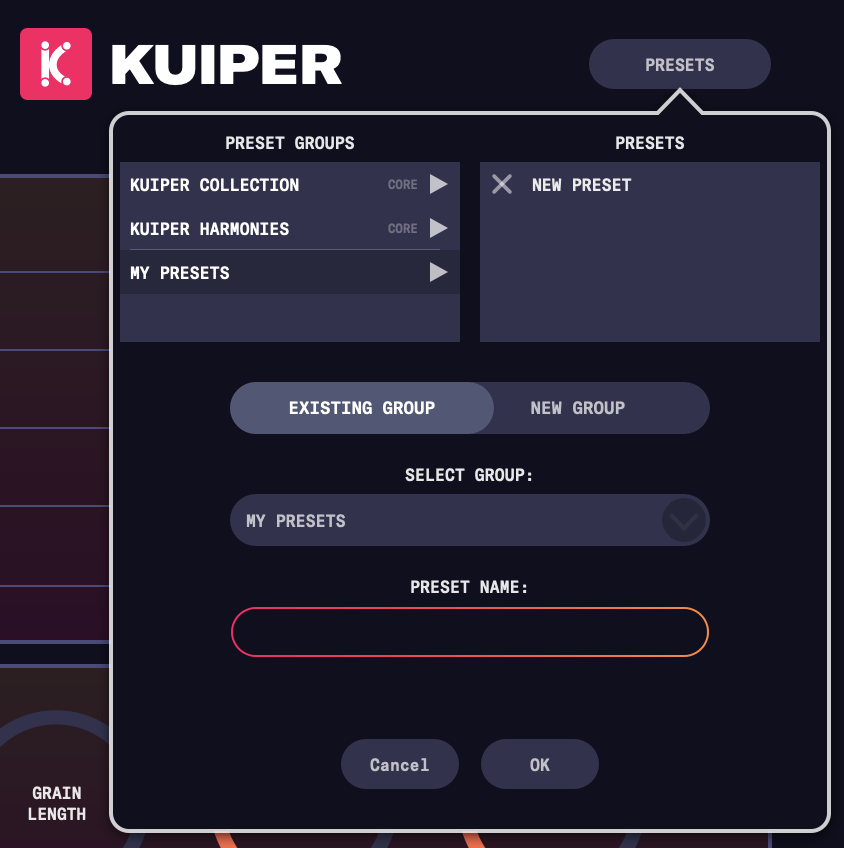
NOTE: next time you go to save a preset, your preset group will be available to choose from a drop-down menu. You can either use it, or create a new group by toggling to the 'New Group' mode at the top:
Loading a Preset
Click the 'presets' button in the toolbar:

In the preset browser that pops up, you will see all the preset groups on the left, and then the presets for that group on the right. Simply find the group you want and then the preset in that group and double-click to load it.
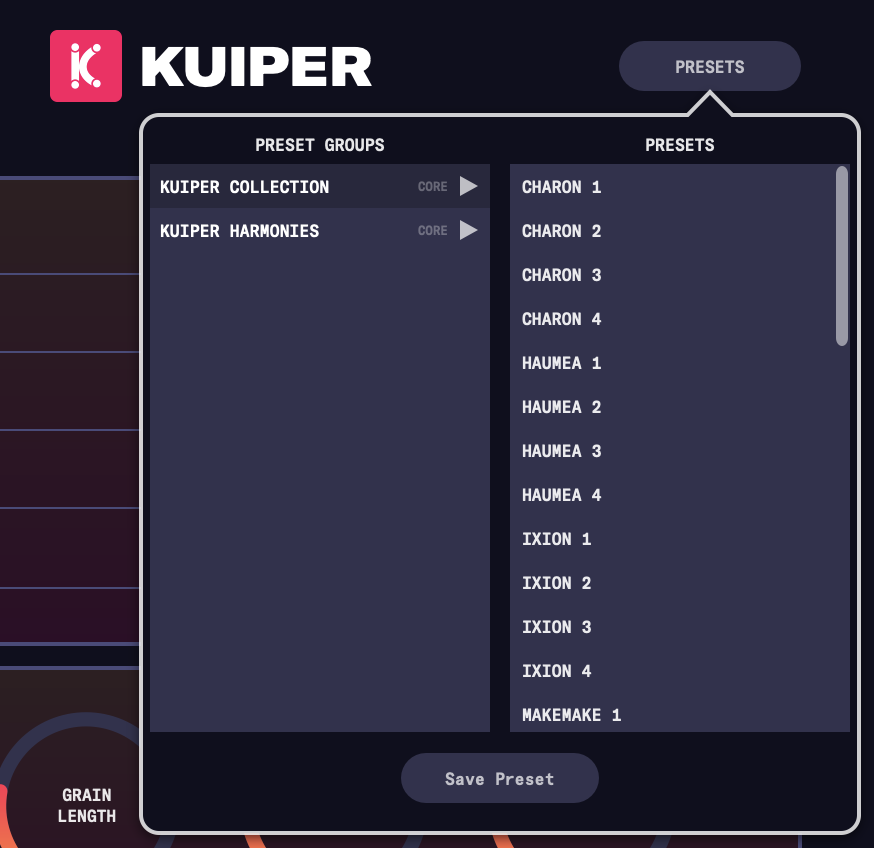
You can also delete a preset by clicking the 'X' to the left of its name. NOTE: You cannot delete the 'core' presets.
Frequently Asked Questions
Where did the name 'Kuiper' come from?
The name is derived from the ‘Kuiper Belt’ - a region of icy (and perhaps ‘granular’) objects in the solar system beyond the orbit of Neptune.Does Kuiper run natively on the Apple M1 chip?
Yes. Please see the system requirements section for more informationDoes Kuiper run on Apple computers with Intel processors?
Yes. Please see the system requirements section for more informationWhere are the presets for Kuiper stored on my computer?
MacOS
Core presets: /Library/Application Support/MiMU/Kuiper/Presets
User presets: /Users/[your-username]/Library/Application Support/MiMU/Kuiper/Presets
Windows
Core presets: C:\Program Files\Kuiper\Presets
User presets: C:\Users\[your-username]\AppData\Roaming\Kuiper\Presets
